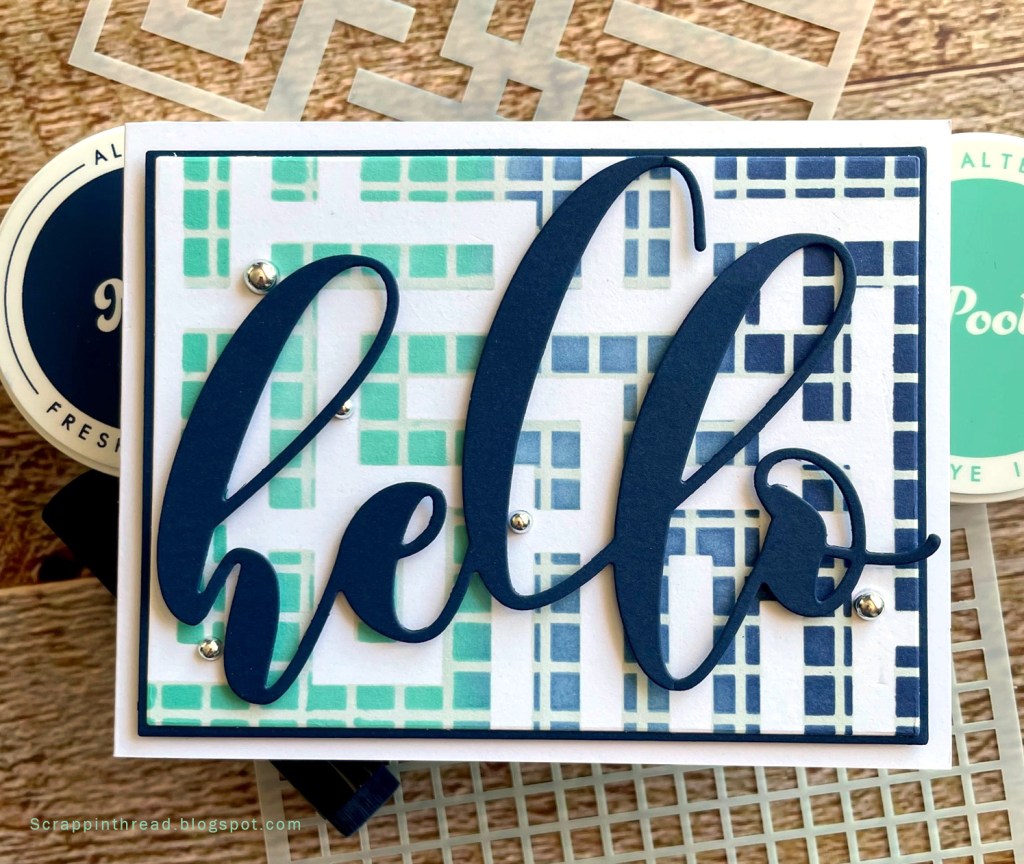


On the first two cards, I used the grid stencil after using an open stencil or mask for the first layer. The card pictured above is the maze stencil with Silver Sage ink blended onto a 4.25″ x 5.5″ piece of cardstock. Leaving the stencil in place, the grid stencil is aligned on top, and Pool and Navy inks are blended over the original design. The photo above shows the ink blending after that step with the grid stencil removed.
 |
| Clean and Simple Card with Stacked Stenciling |
These next two cards use a reverse mask from the Wonderland set. The one above shows it with the grid stencil and the one below is with a discontinued geometric stencil. Also, the one below uses navy ink after the geometric design was complete. Each of the cards has a stamped sentiment from the Wonderland stamp set.

All three cards are layered onto standard 4.25″ x 5.5″ card bases after die-cutting the stencil background and a frame using Gina K’s Master Cuts Set 1 dies. A little bling was added to all of the cards using Pinkfresh Studio Metallic Pearls or Essential Jewels.

The large die-cut sentiment is popped up with foam tape. It covers some of the card, but not enough to be distracting from the cool-looking background. I hope you give this technique a try! It is kind of addictive, though.


2 responses to “Stacked Stencils for Clean and Simple Cards”
Brilliant cards, Beverly. Looks like you were having too much fun!
LikeLike
Thank you, Erum. This is a really fun technique!
LikeLike