 |
| EK Success Corner Punch In Action |
Create your own doilies for scrapbook layouts and cardmaking out of any paper in your stash!
Here is a tutorial video showing a variety of corner punches and the results of punching the same size circle with the various punches that are pictured below. The Martha Stewart Topiary Corner Punch is the one used for the instructional part of the video.
If you prefer written instructions, instead of videos, please scroll down to the bottom of the post to see some suggestions about this technique.
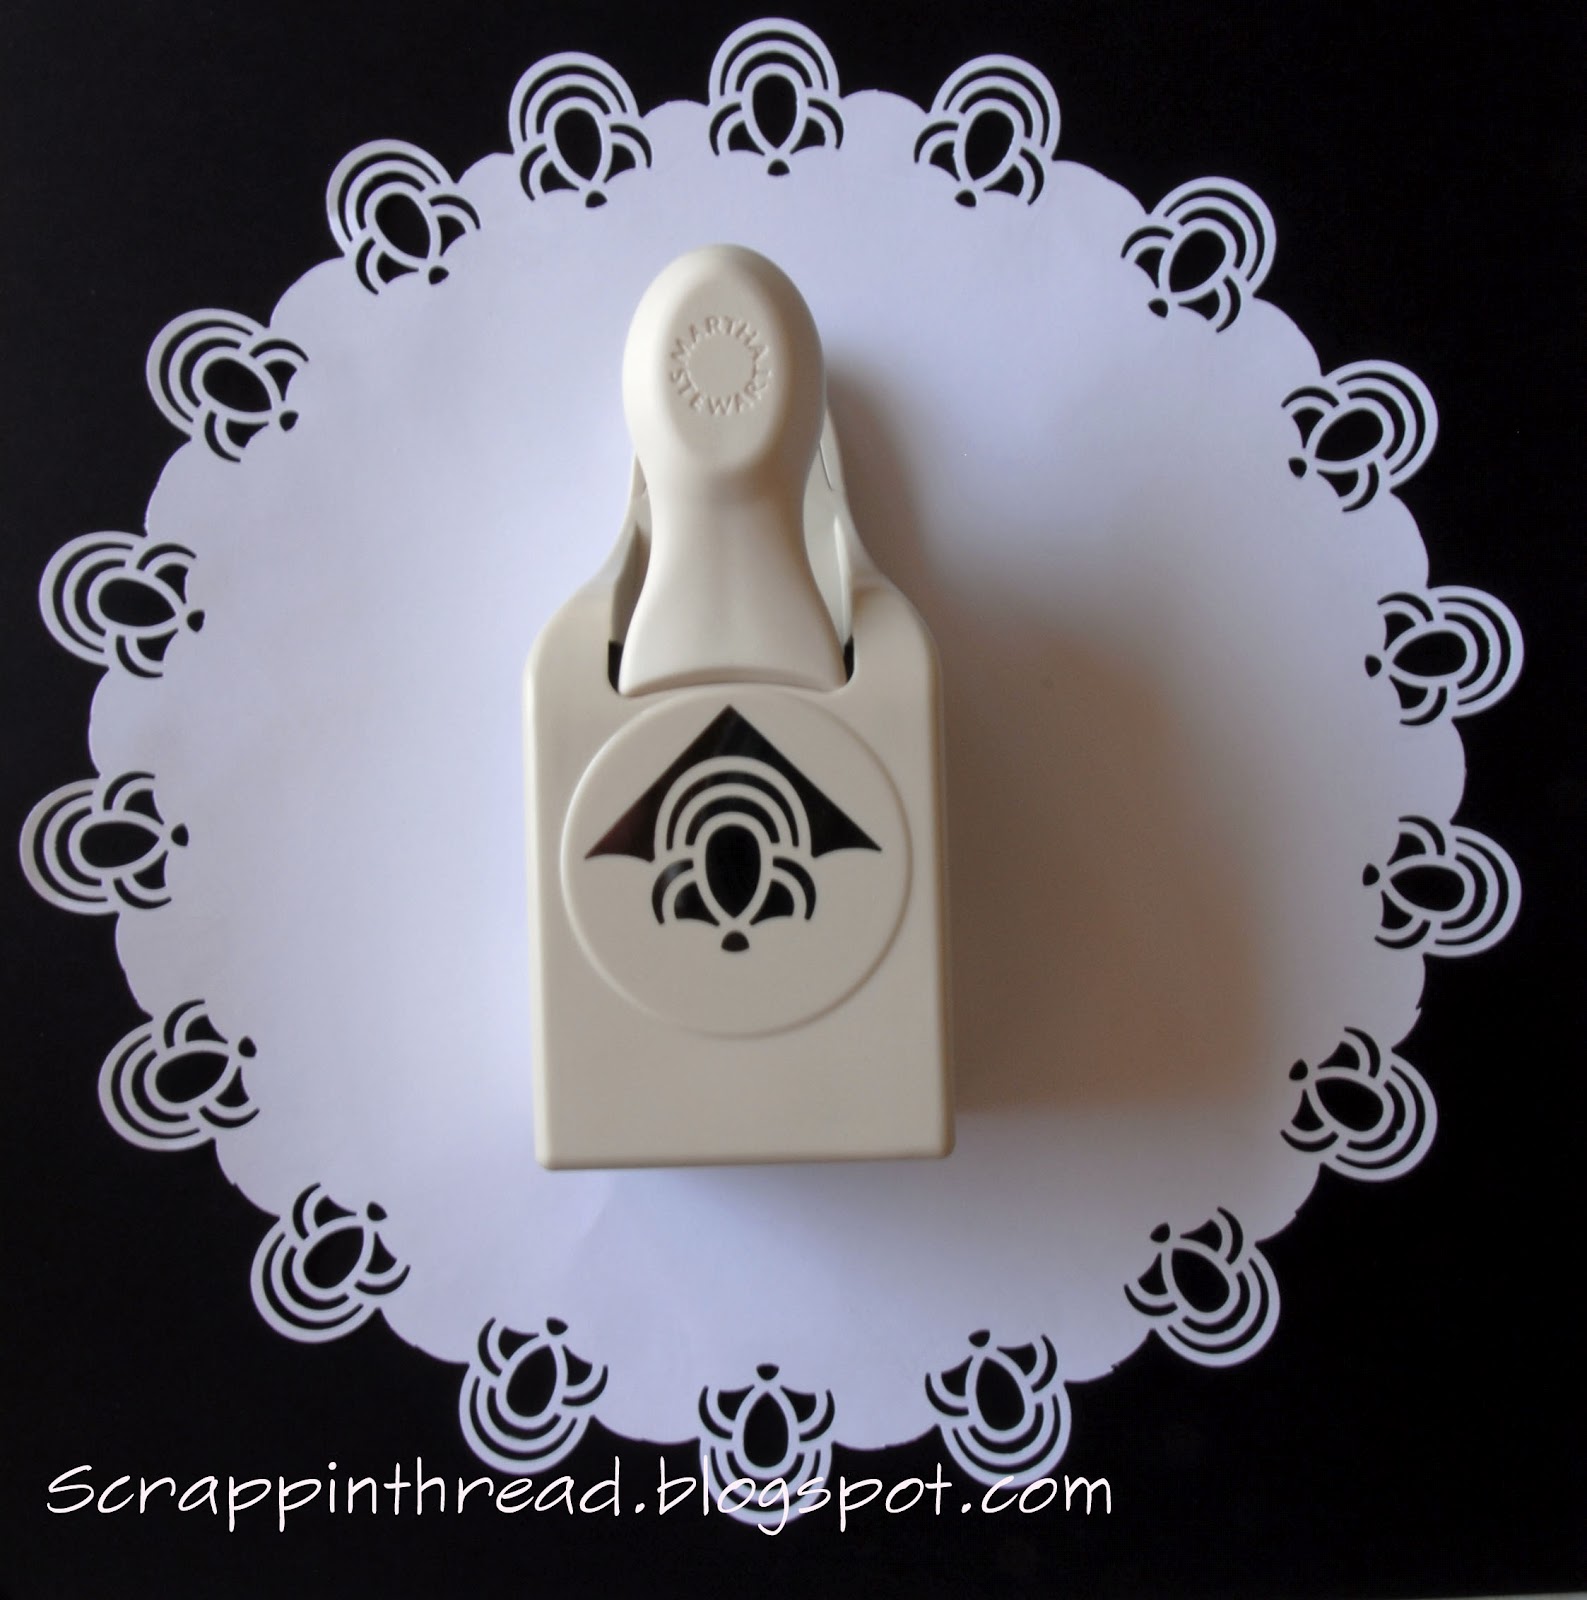
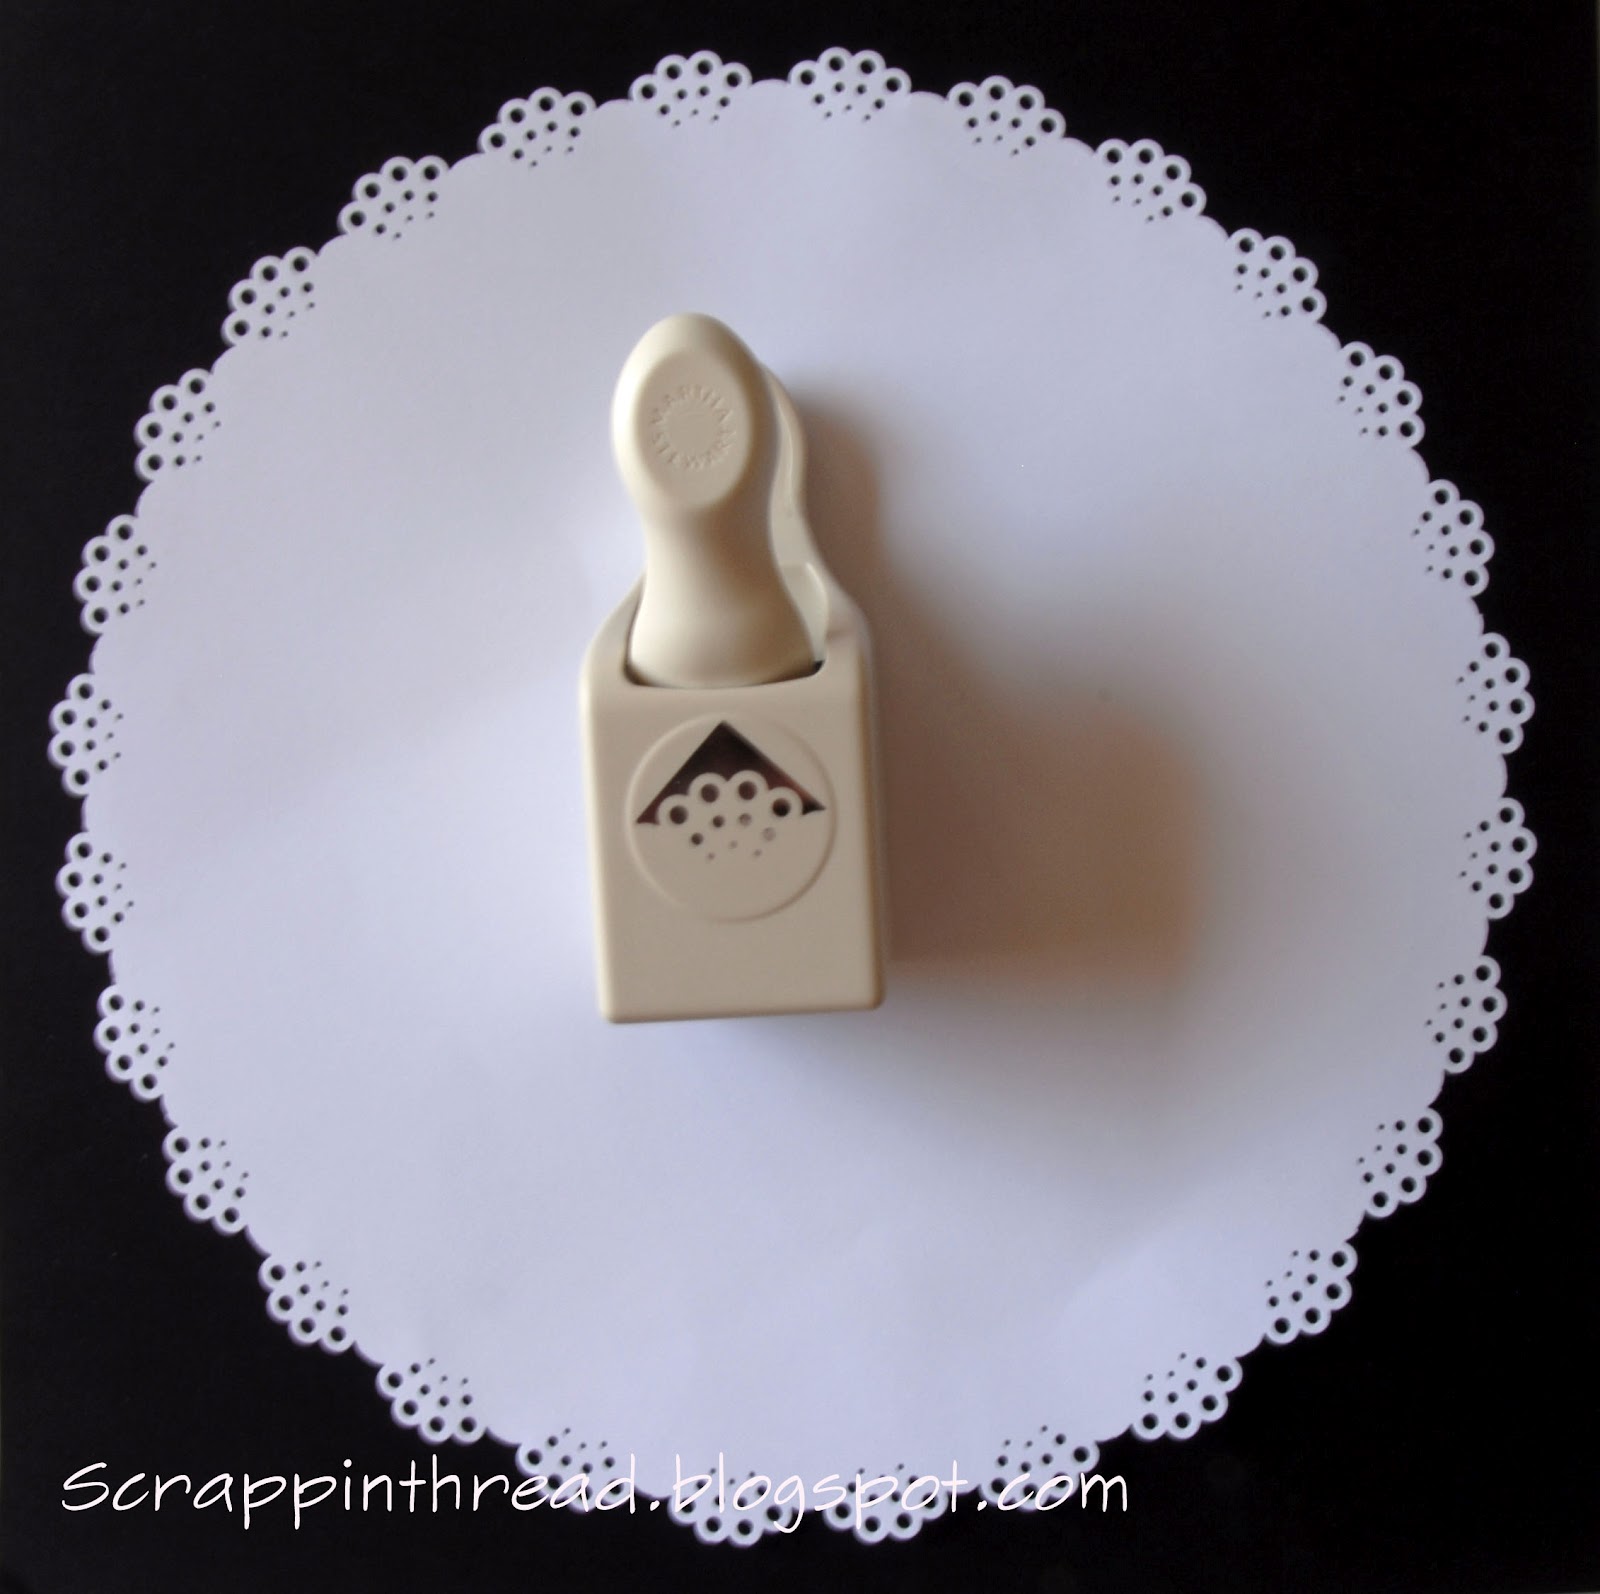
Posted below are the various Martha Stewart Punch Around the Page Corner Punches that I have used and their corresponding doilies:
 |
| Martha Stewart Double Arches |
 |
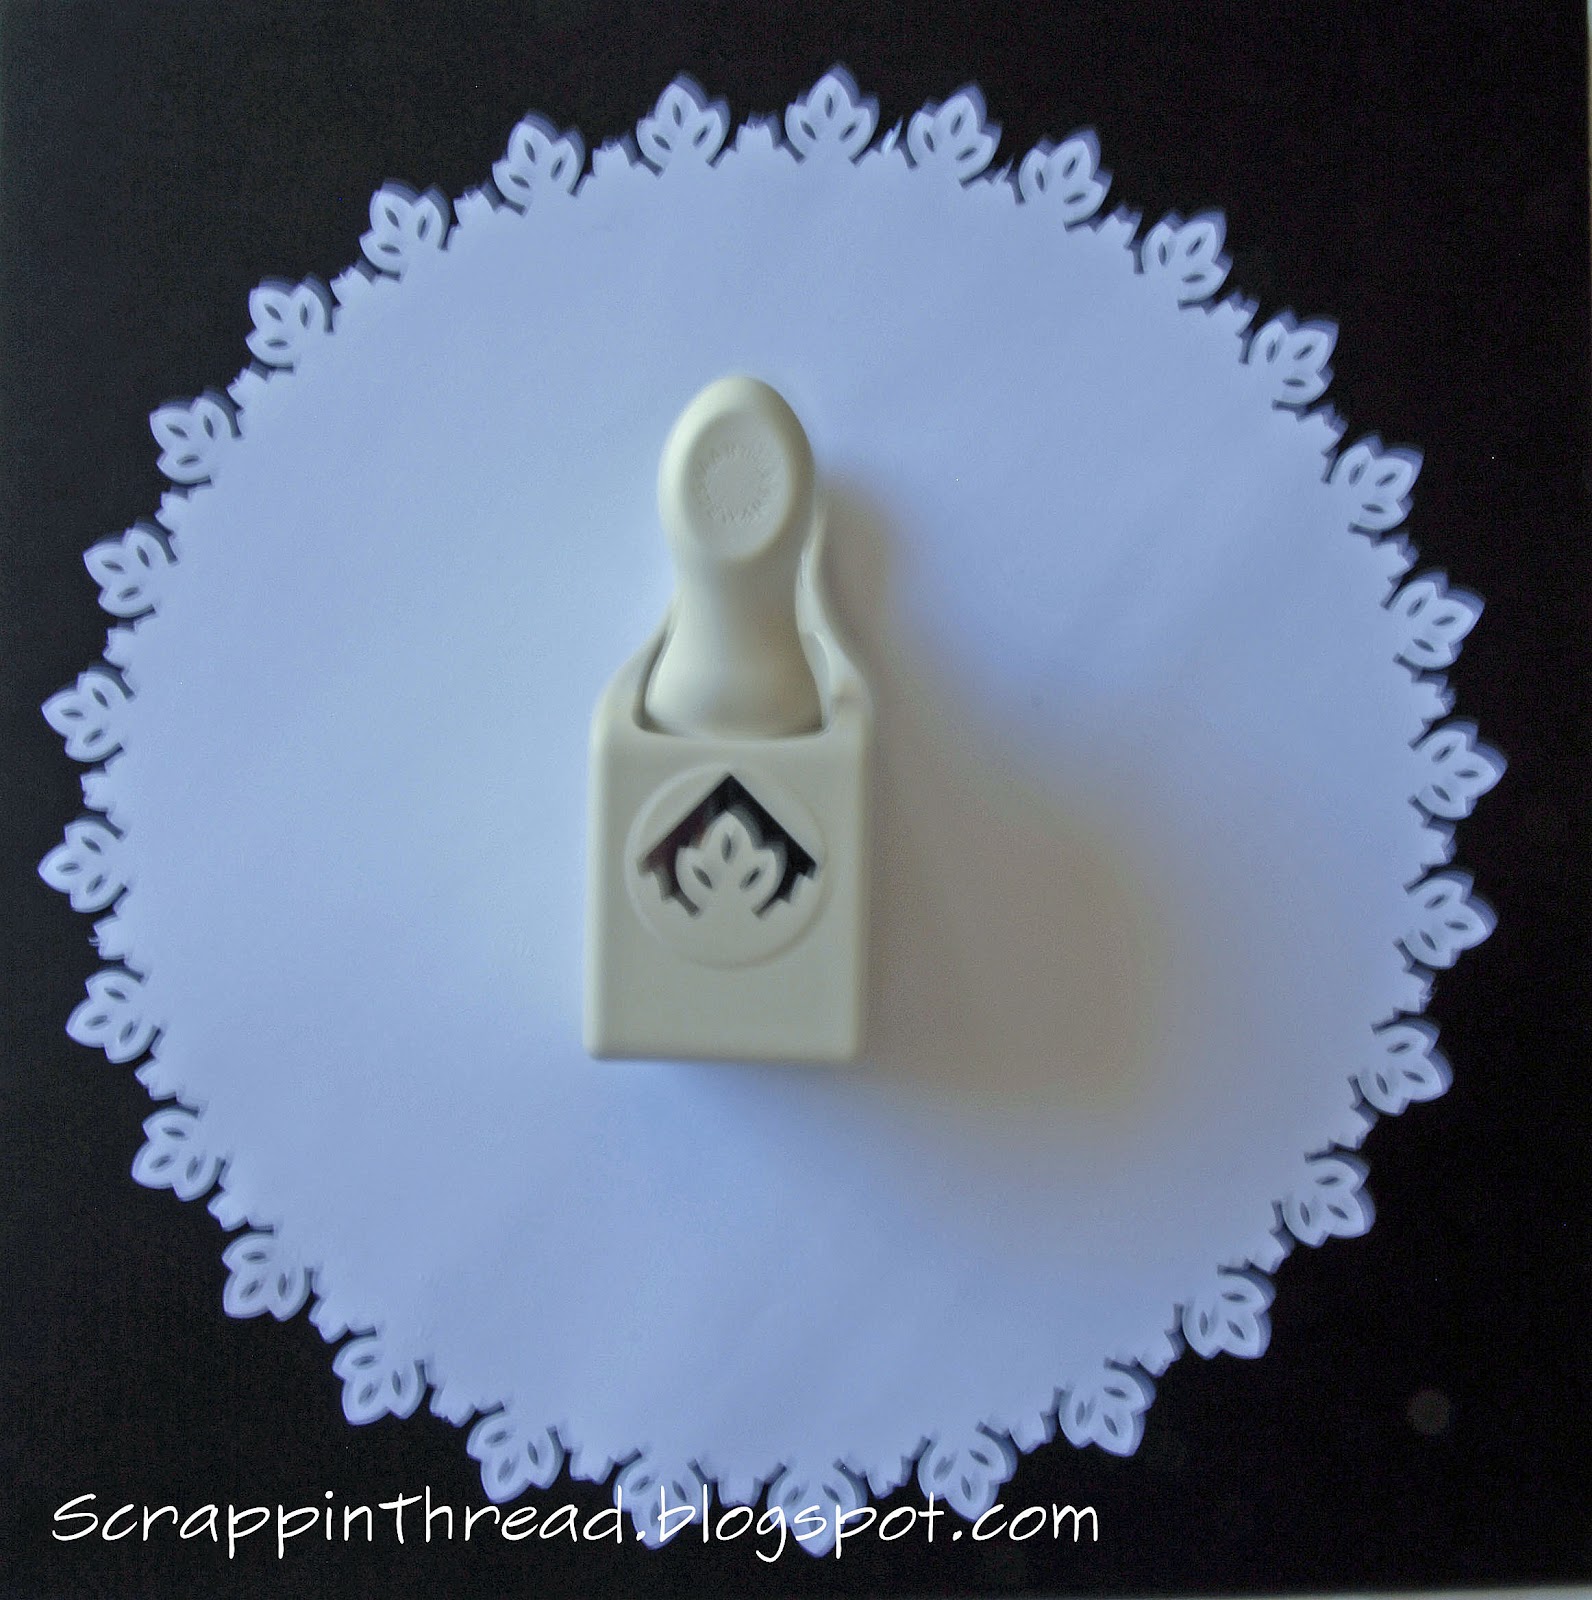
| MS Doily Lace Corner Punch |
 |
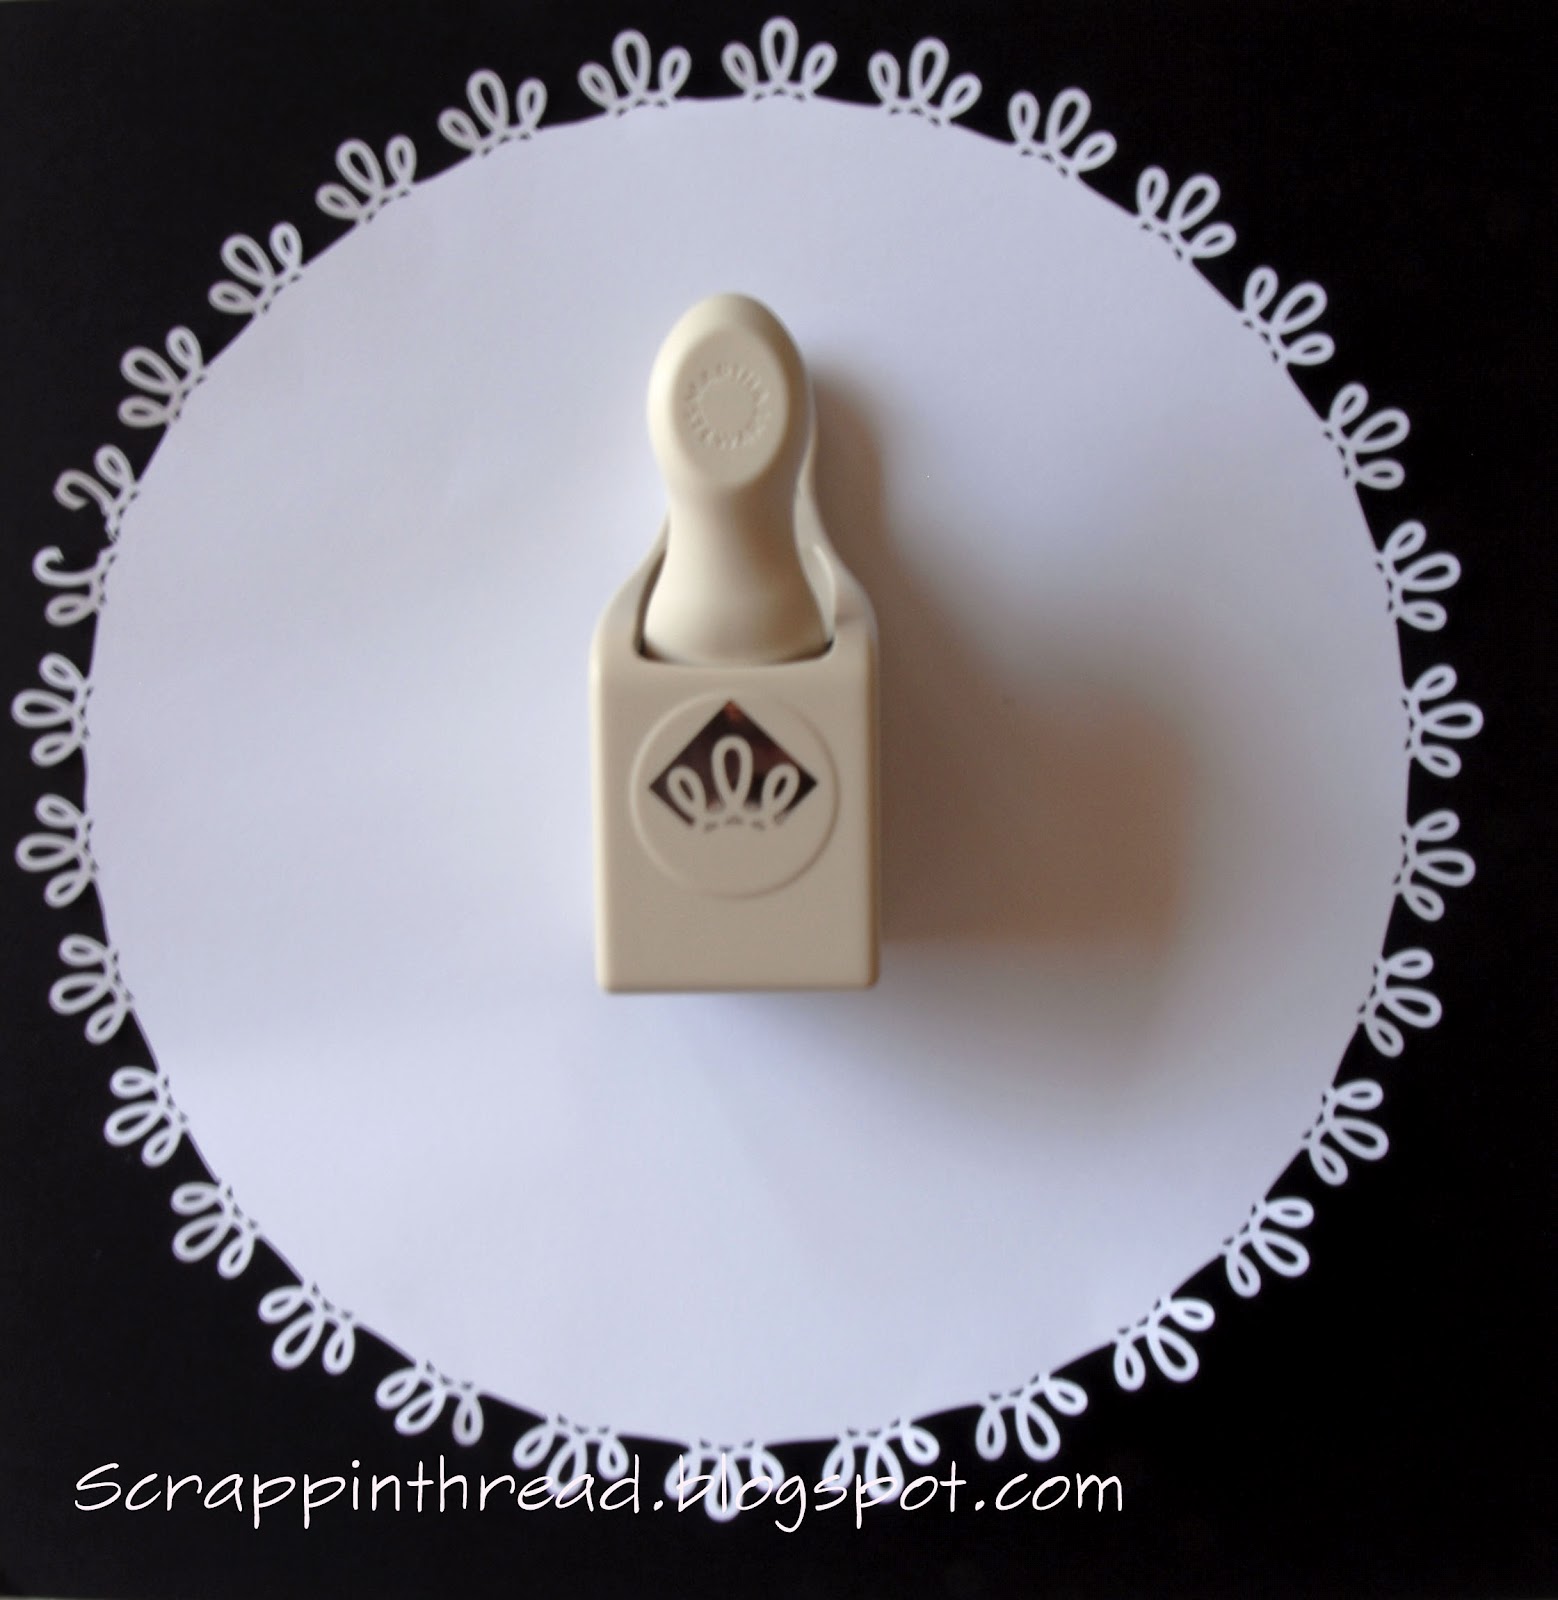
| MS Double Loops Corner Punch |
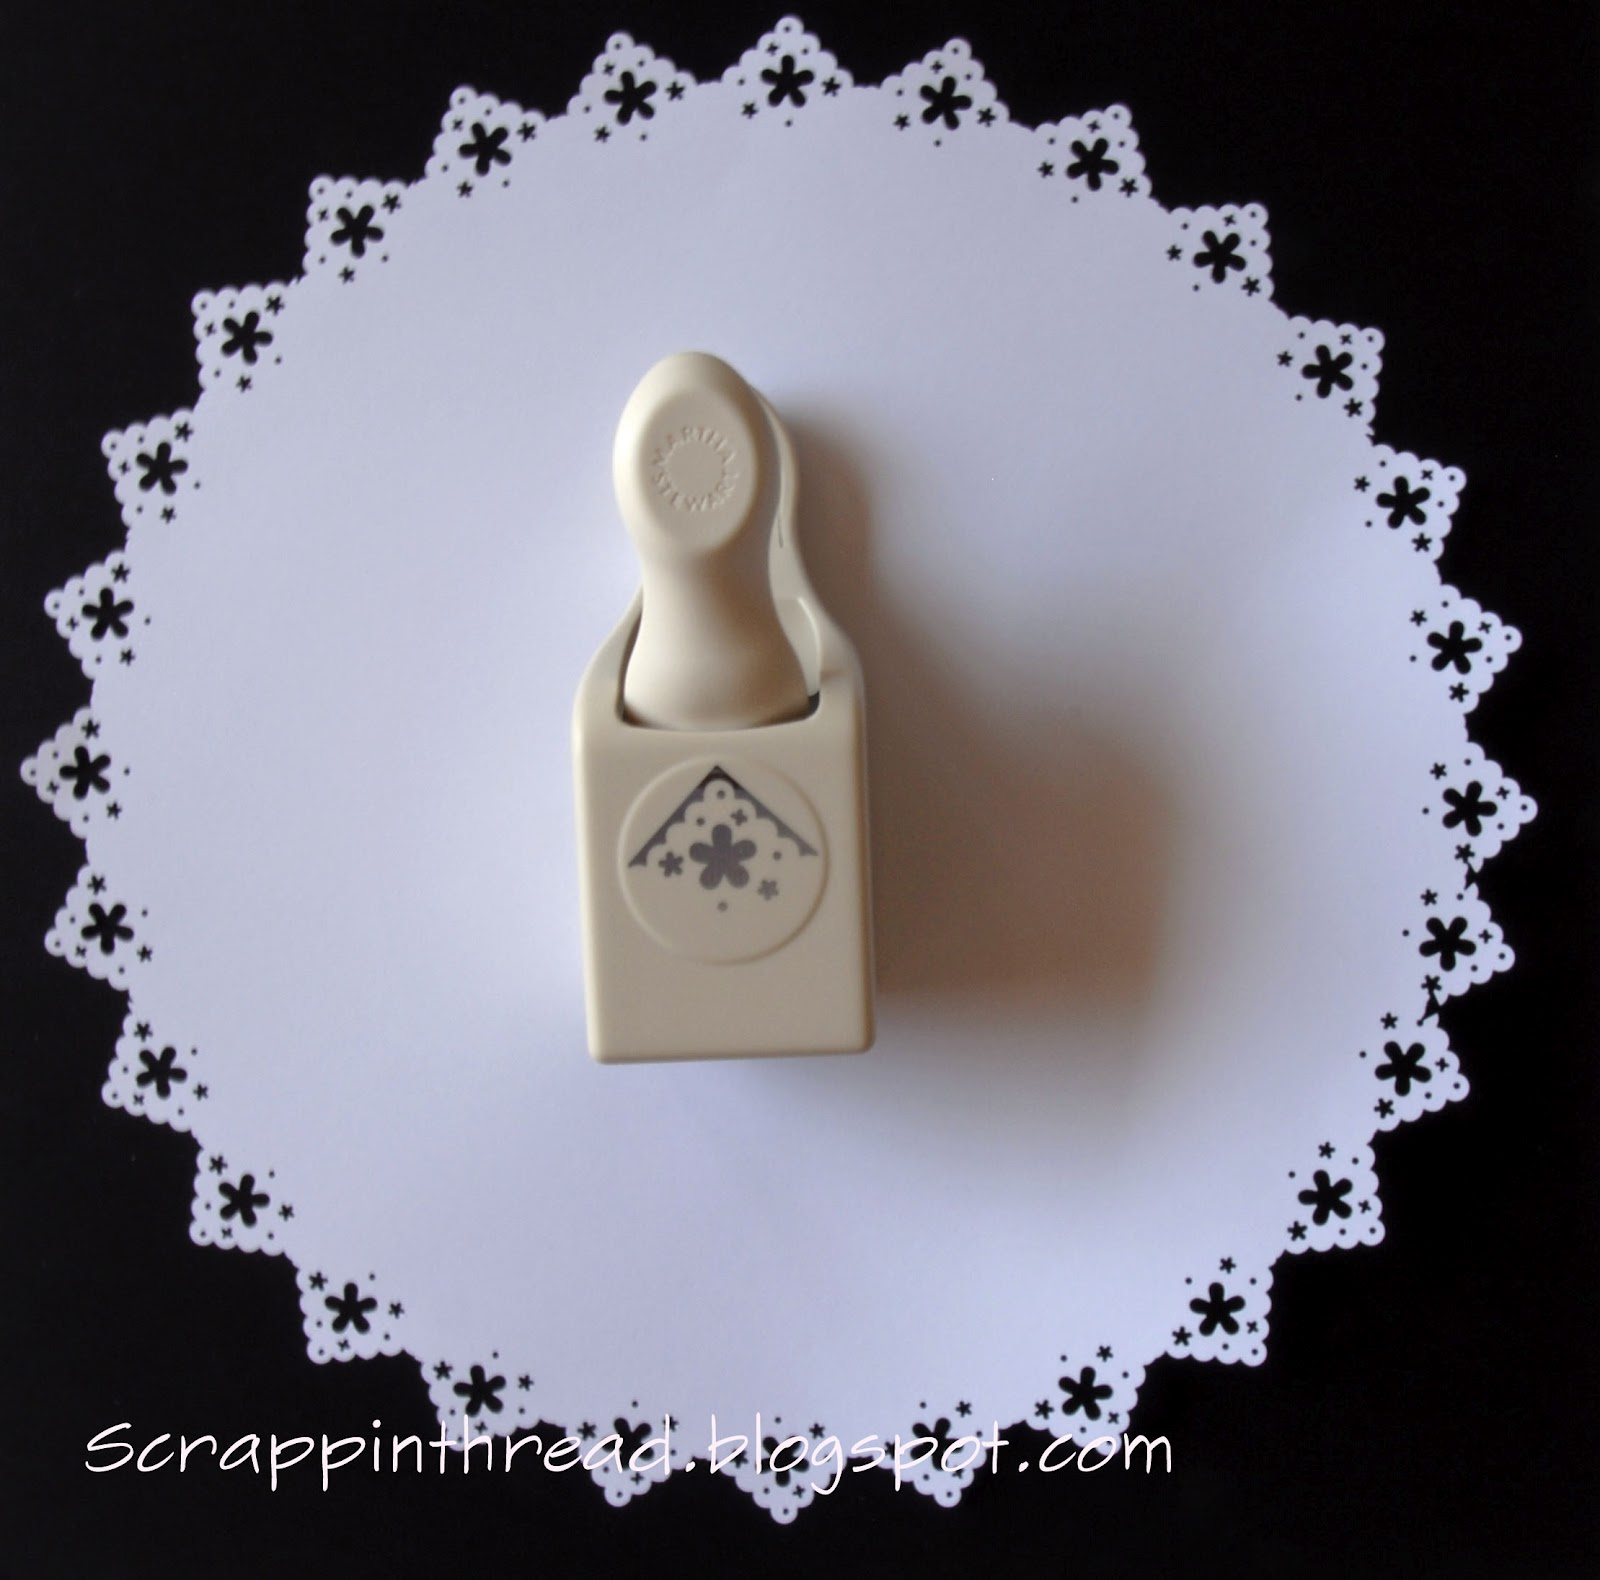 |
| MS Flower Shower Punch |
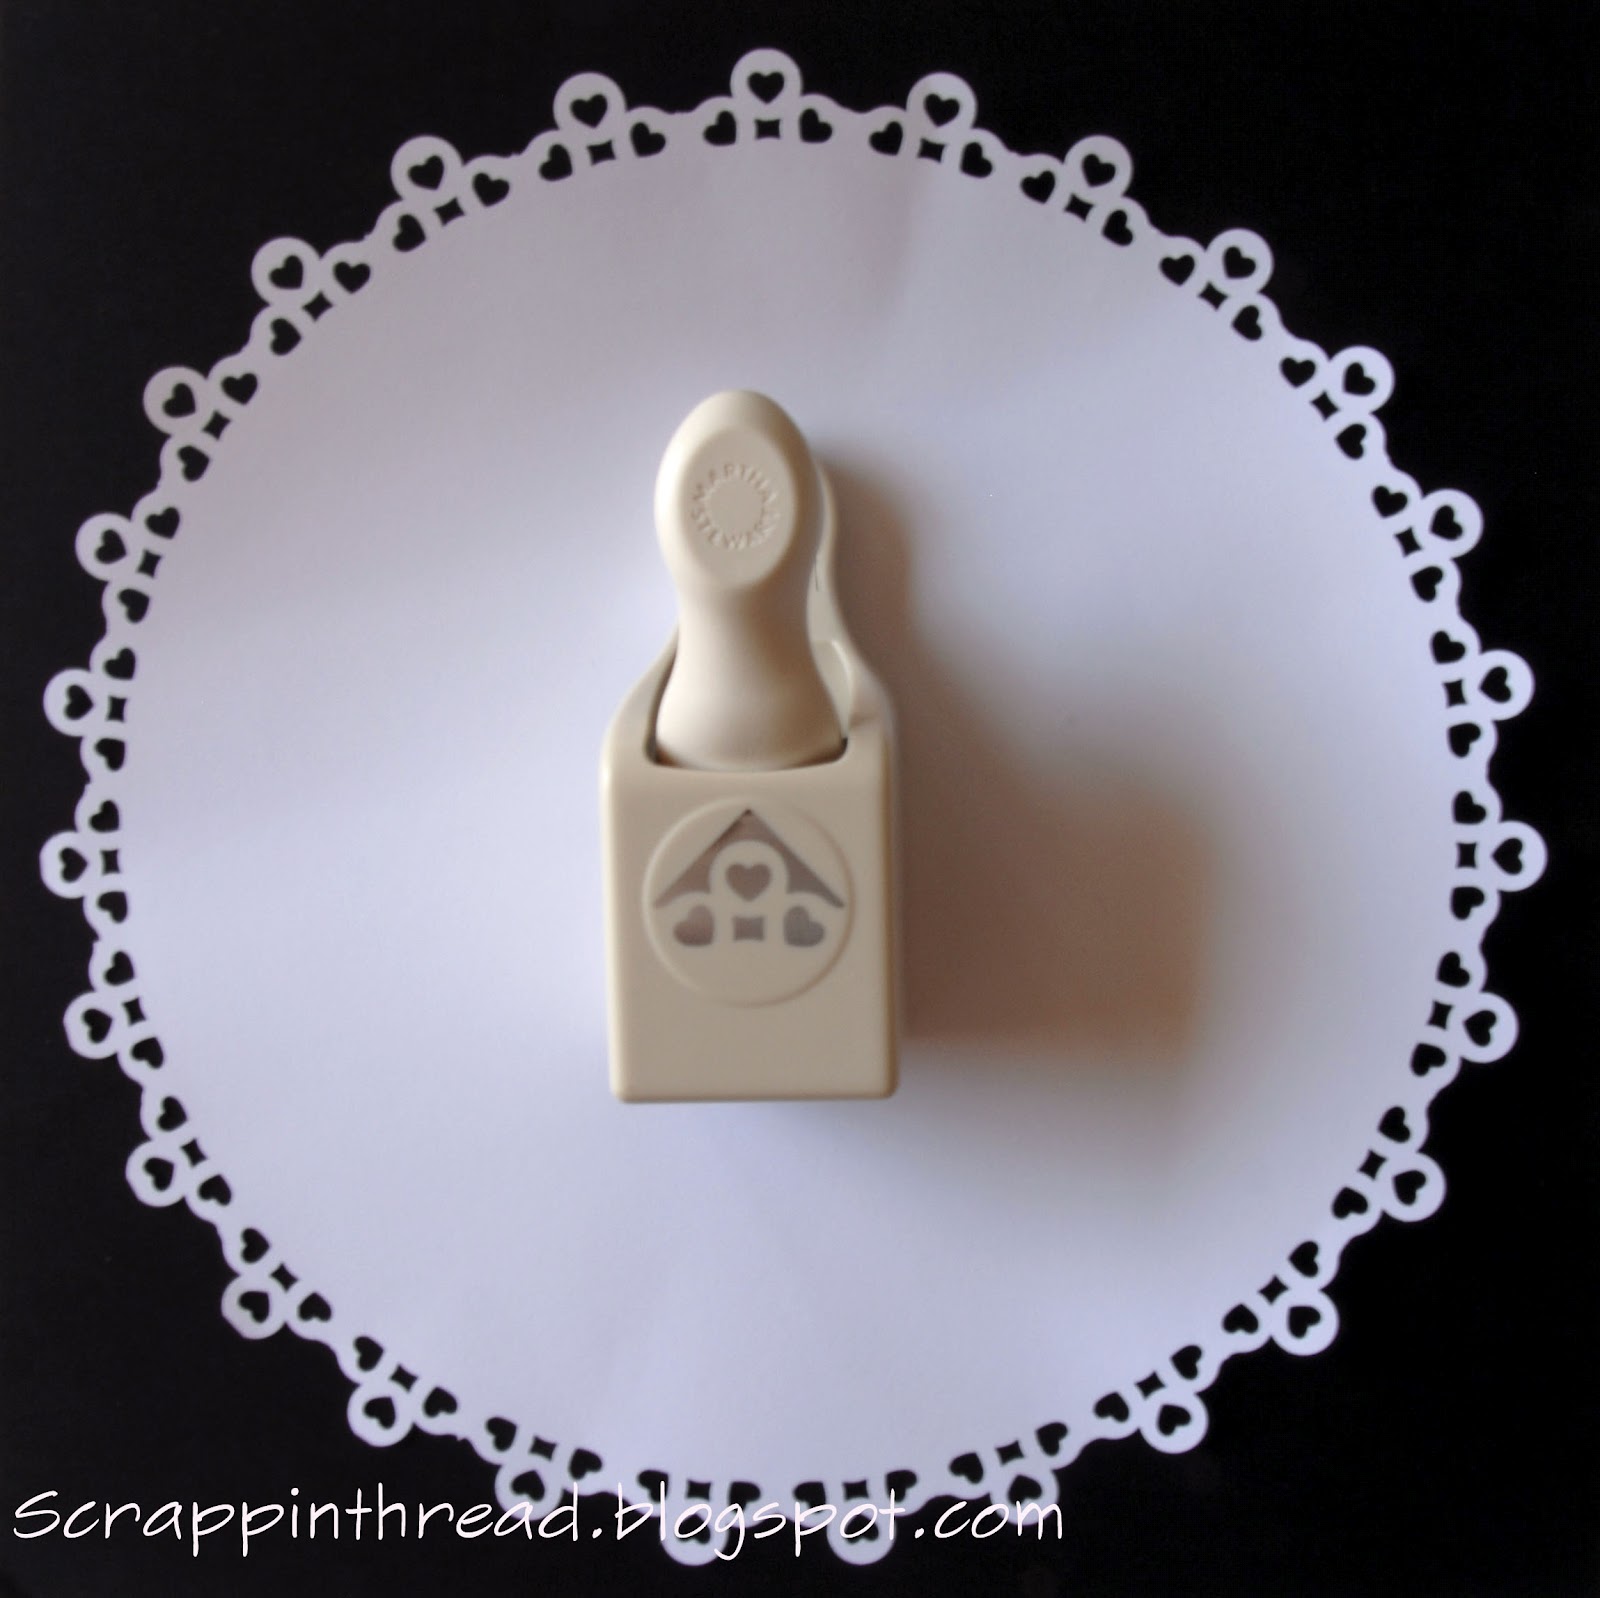 |
| MS Heart Chain Corner Punch |
 |
| MS Loops Edge Corner Punch |
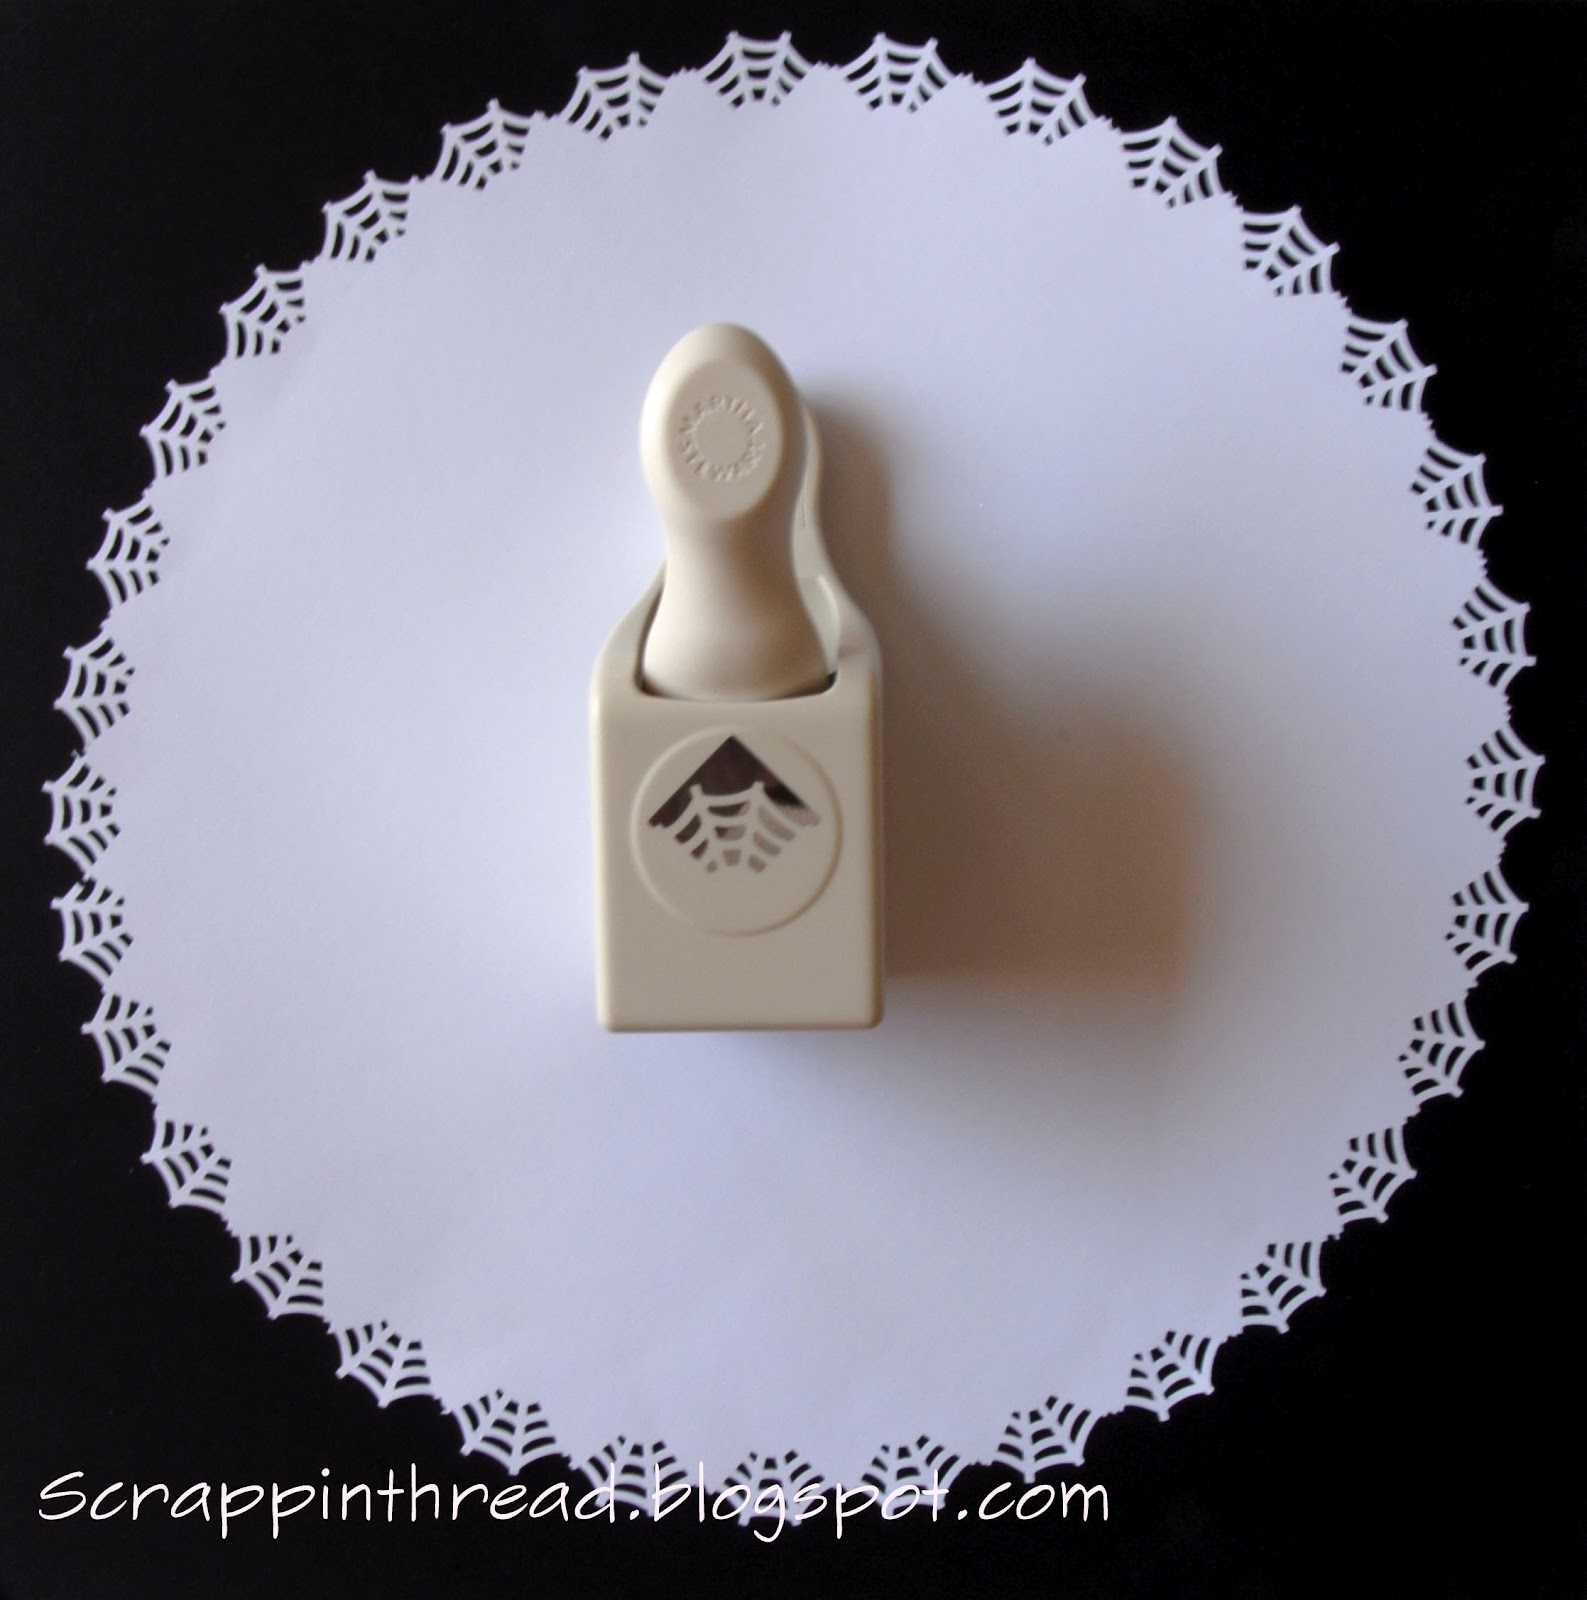 |
| MS Spider Web Punch Around The Page Corner Punch |
 |
| MS Topiary Corner Punch |
I don’t have the SU! Corner Punches posted here because I am uncertain of their names. I have had them for many years and do not know whether or not they are still available. Please leave me a comment to let me know if you try this. 🙂 If you try this technique with any corner punches that are not posted here, I would love to see your results!
Here is an example of how I used the Spider Web doily. The center of it was cut out using the MS Large Circle cutter after punching the shape around the perimeter of the circle.
From this:
 |
| Plain CTMH White Daisy Cardstock |
To this:
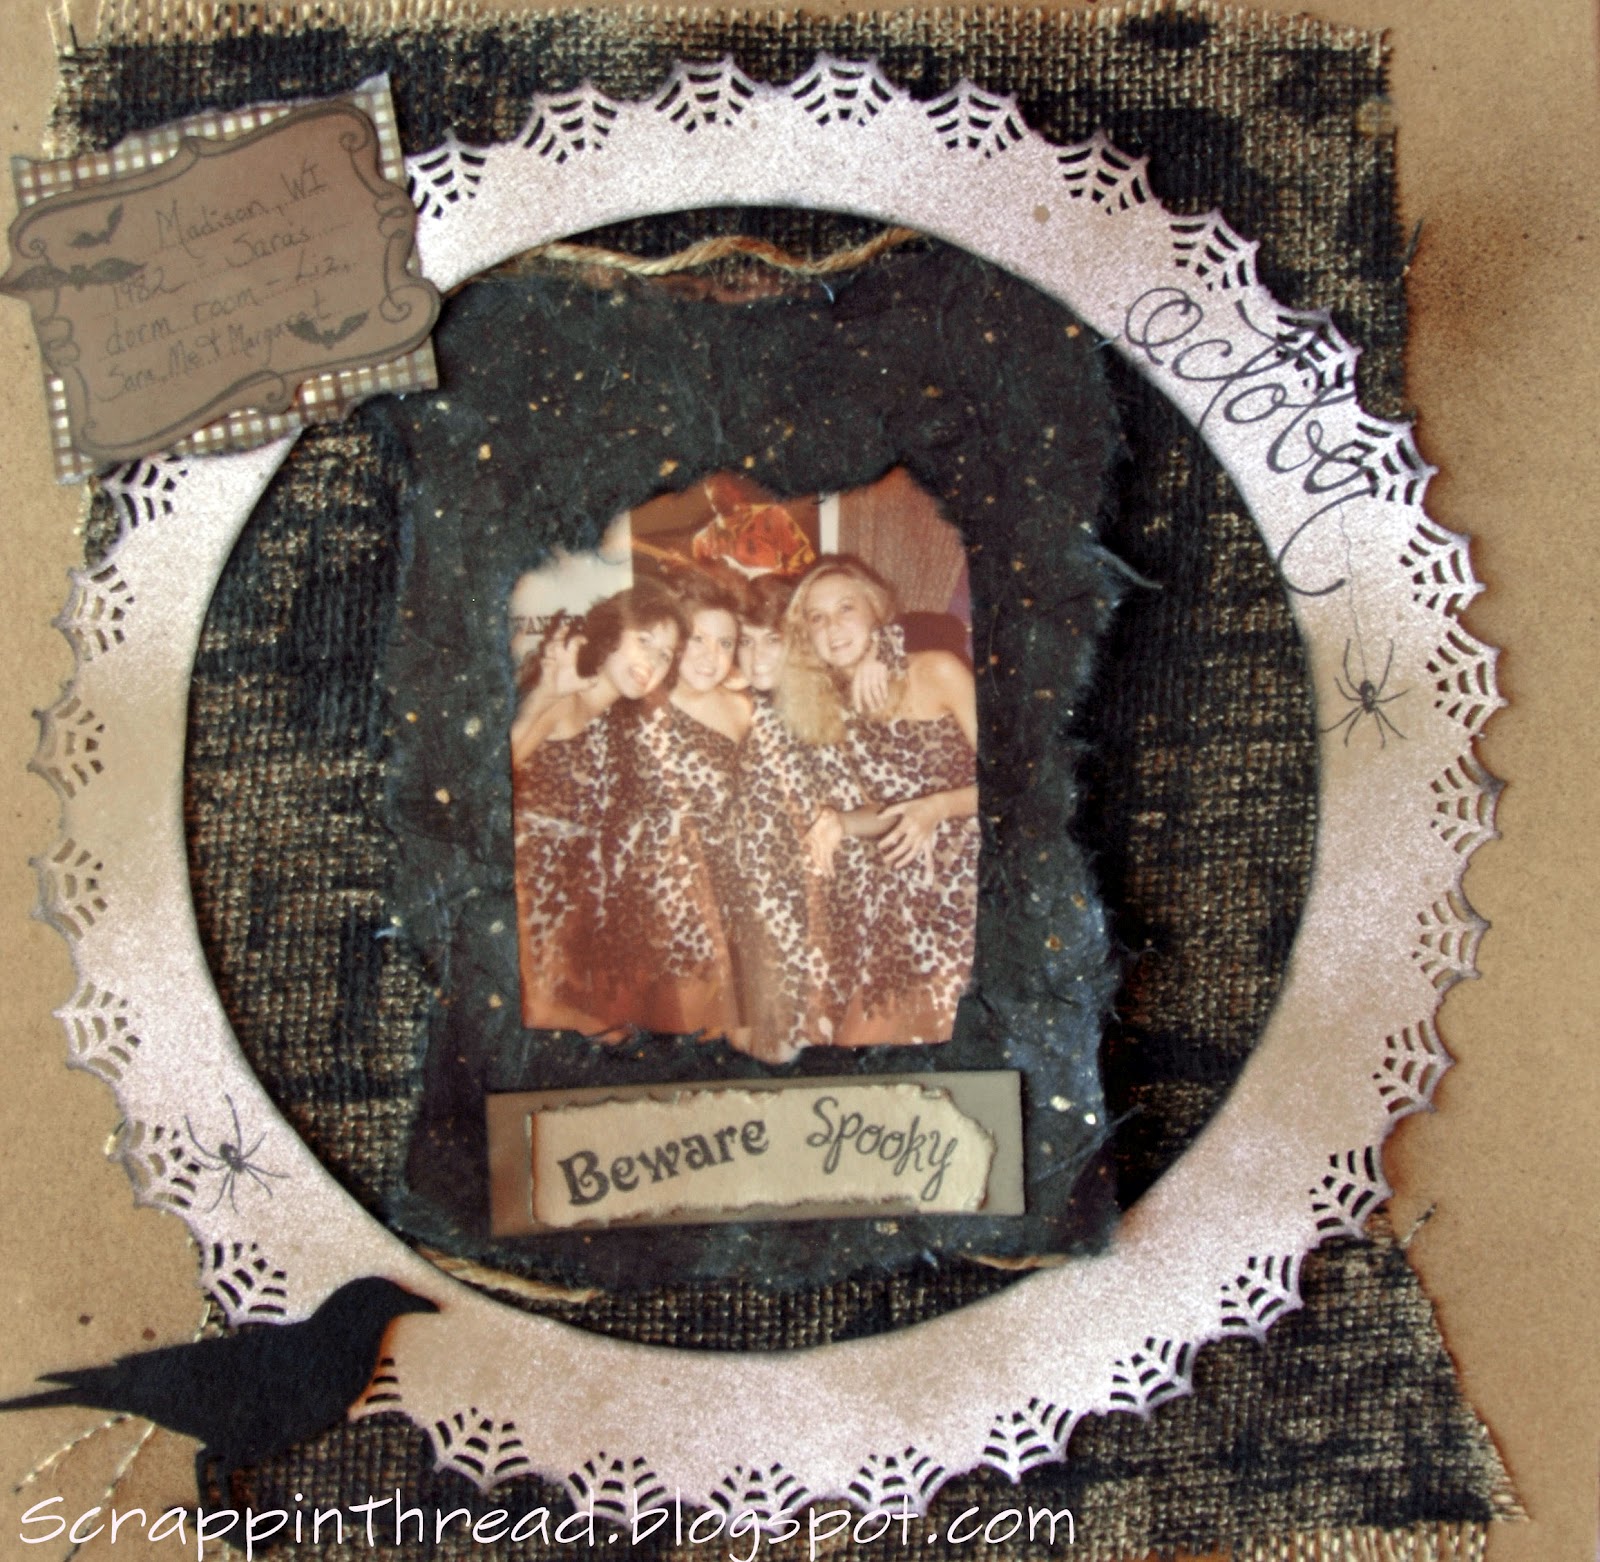 |
| Kraft Base, Black Painted Burlap, Spider Web Doily, Flip Flap to see Original Writing on Back of Photo |
There are more pictures of this layout here.
And here is the Loops Doily with the center removed:
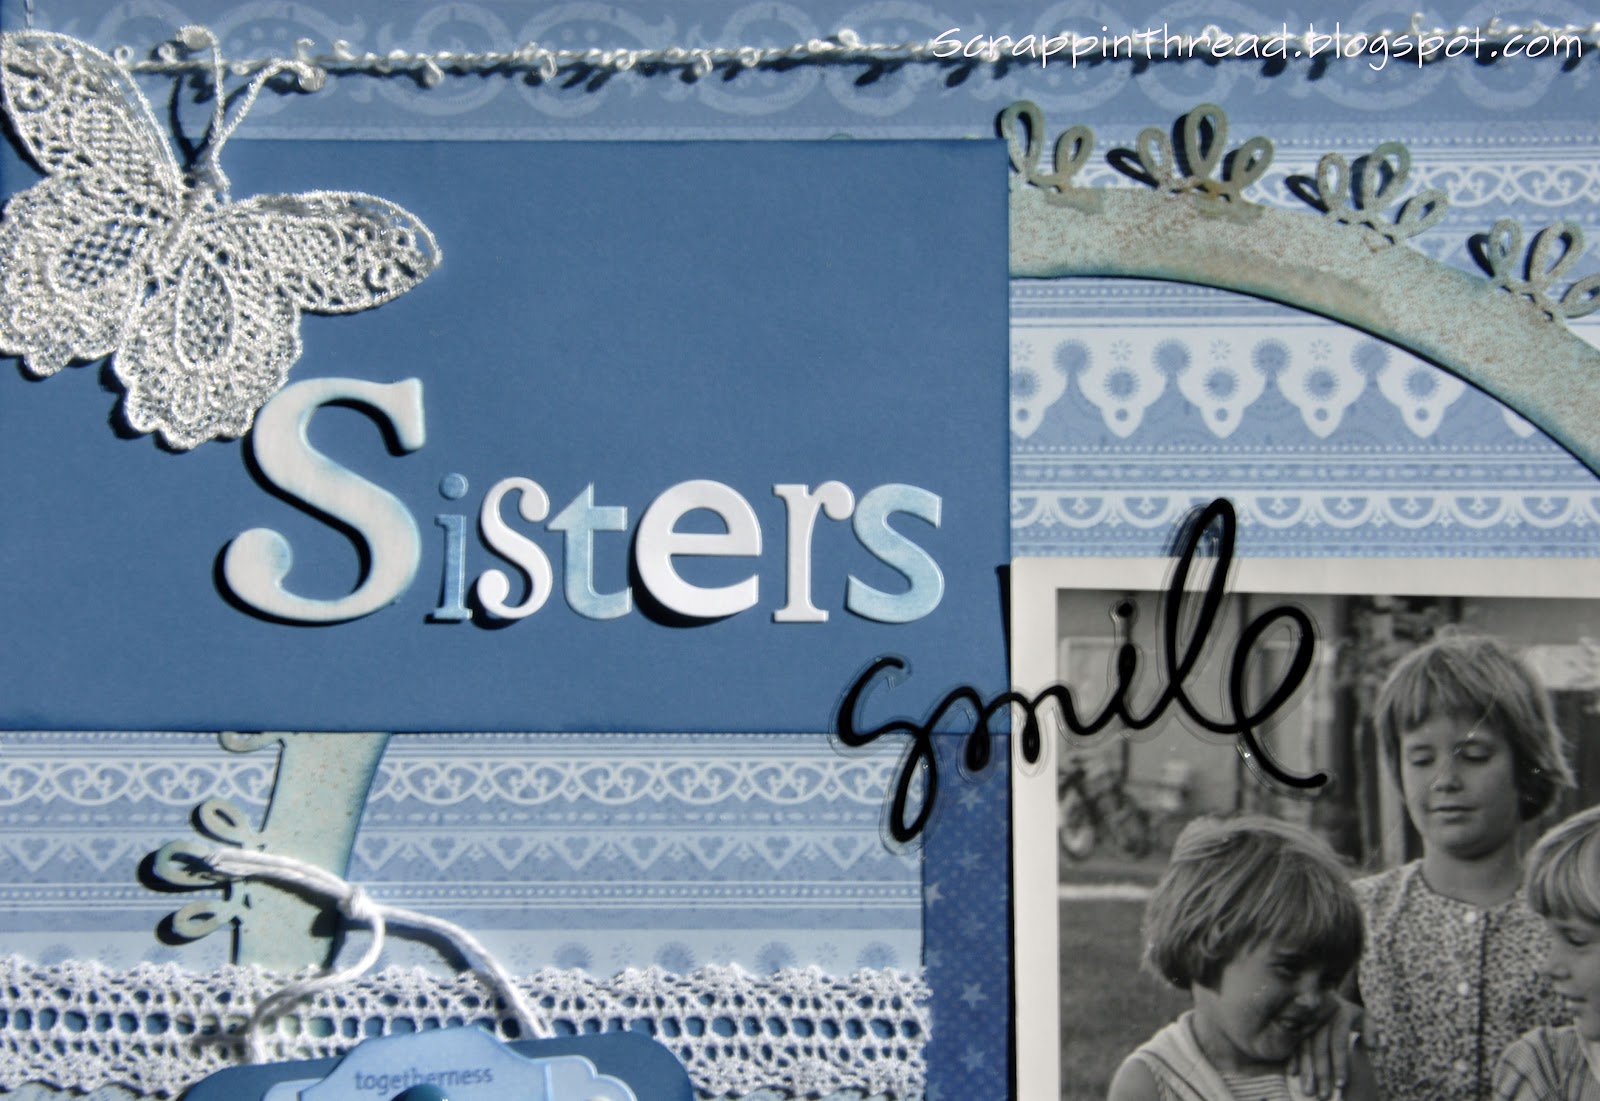 |
| Mister Huey Clay and Blue On Cutout Doily Shape |
Original post for this layout is here.
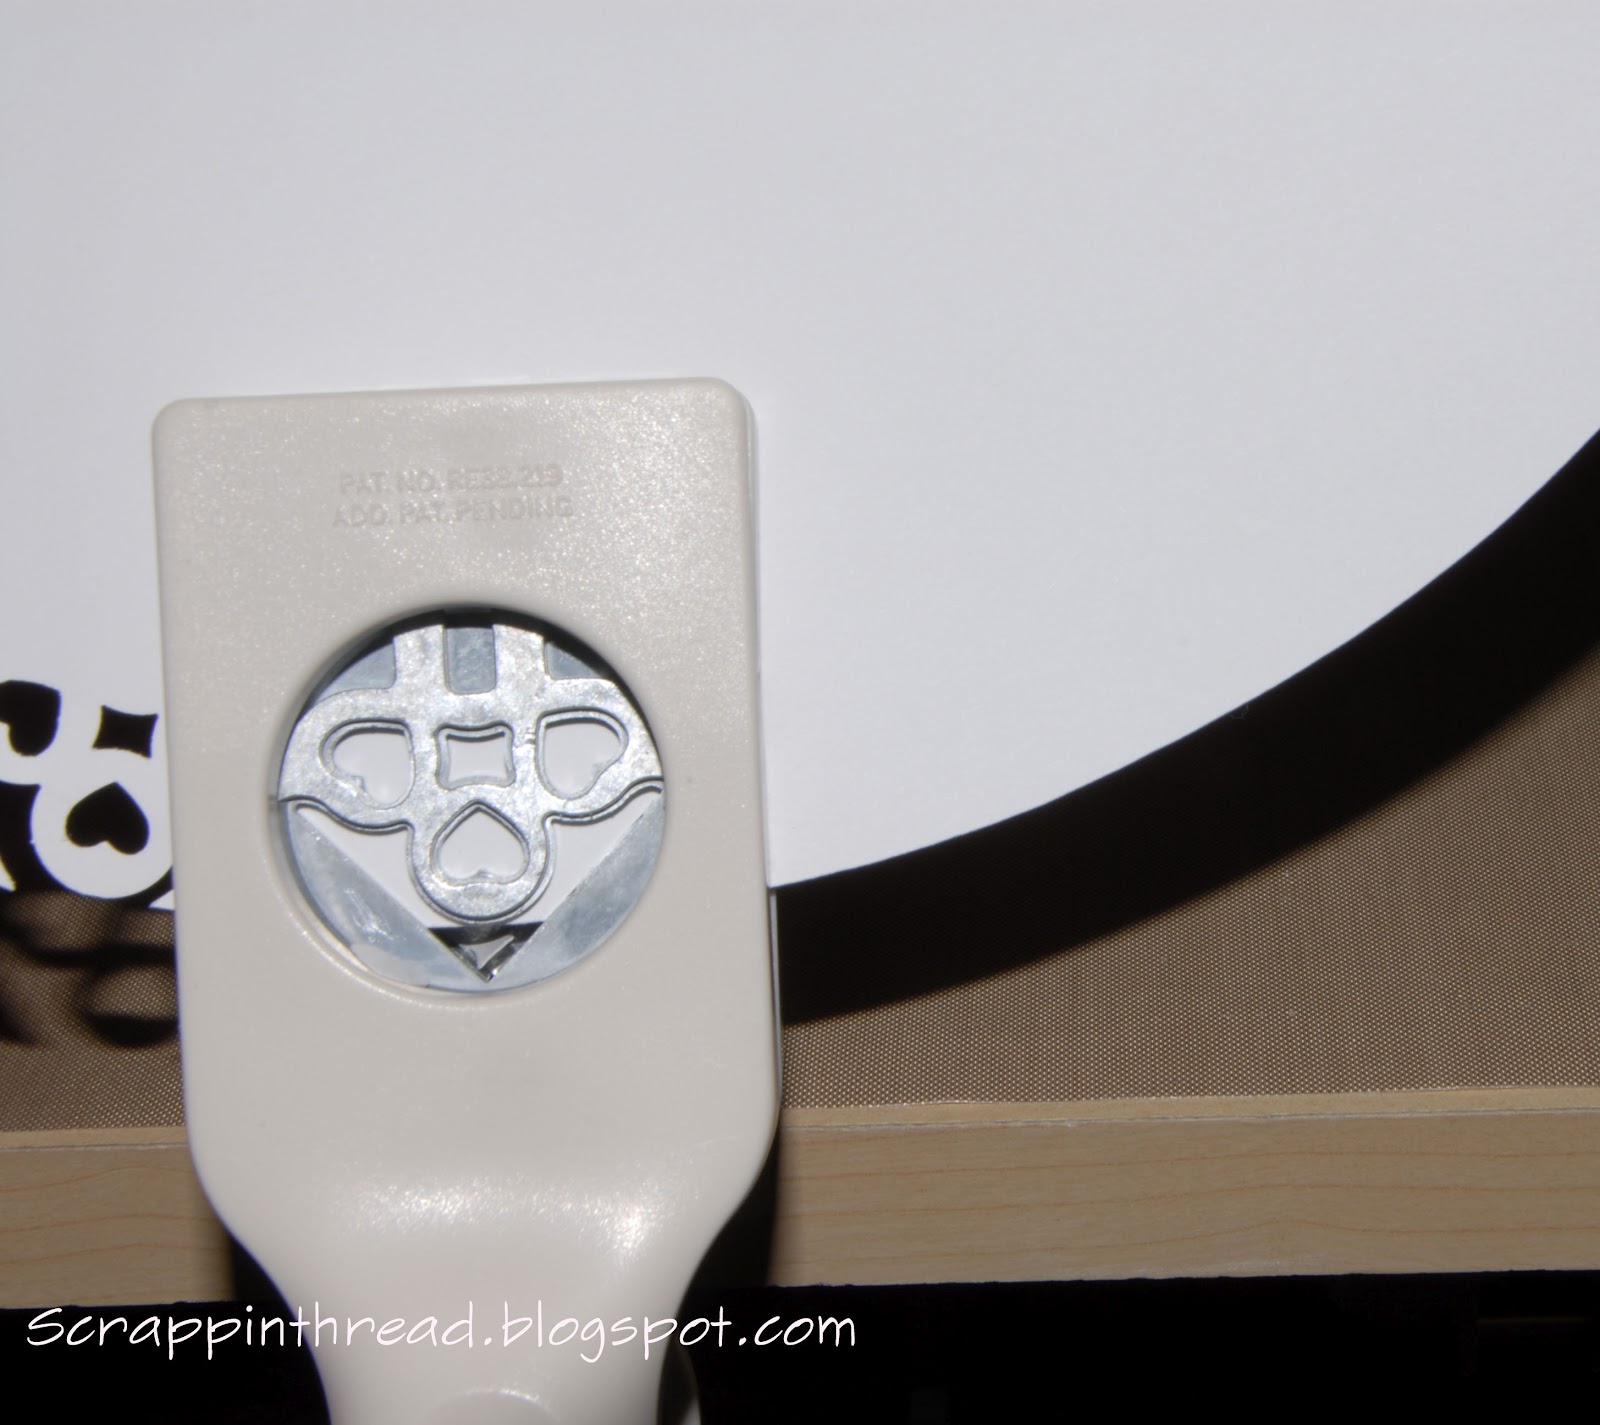
Flip the corner punch over to see where to line up the punch. The picture at the very top of the post shows the back side lined up near the edge of the paper. Punch around the edge of the circle slightly overlapping the previous punched area. If your punching doesn’t end up exactly matched up, you can place an embellishment at that spot. 🙂
If you are mathematically inclined, you could measure the perimeter of the circle and figure out whether the punch is the correct size to end up exactly evenly given the circumference to punch size ratio. Punches vary in size and everyone punches a little differently, so I have no specific guidelines for this. Just a little observation though, the smaller the circle, the more noticeable a gap may be.
Thank you so much for stopping by today!
Beverly


32 responses to “Making Paper Doilies With Punches”
Thanks so much for showing this technique!
LikeLike
You are so welcome! Thank you for stopping by my blog, today! Beverly
LikeLike
Thank you for this easy to follow tutorial! I can't wait to try it on!
LikeLike
Thank you so much for your kind comment! I hope you have fun making paper doilies. Happy Crafting, Beverly
LikeLike
Thank you for the neat ideas.I am going to try this.
LikeLike
Thank you for leaving me a comment, Mary! I hope you get lots of use out of your punches! Happy Crafting, Beverly
LikeLike
I love this!!! Can't wait to try it!!! Thanks!
LikeLike
Please let me know if you try this! I would love to see what you create. Thank you for stopping by and leaving a comment. 🙂 Beverly
LikeLike
I love it. I will try this later. I can't wait. The pages are lovely. You do great work.Margaret
LikeLike
Thanks for this great idea! I'll share this on my french tips-and-techniques blog:http://lespetitesmainsduscrap.blogspot.com/on may 8th.
LikeLike
Thank you very much, Margaret! Hugs, Beverly
LikeLike
Thank you! Your blog is beautiful. Thank you for including my work on there. Hugs, Beverly
LikeLike
Thank you! I appreciate you visiting my blog. 🙂 Beverly
LikeLike
Oh my goodness! I can hardly wait to try this! Thank you for your awesome tutorial!!!
LikeLike
Have you tried a smaller size? I just tried this with the spider punch! So cute! Thank you for the idea!Antann
LikeLike
Thank you, Debbie. Please let me know if you try it and link a picture so I can see! Thank you for visiting and leaving a comment. Beverly
LikeLike
Hi Antann,Do you have a picture of your spider punch creation? I would love to see it! I have tried smaller circles. Those take a little more pre-planning on my part… or I use just a partial circle on a card so it doesn't matter if they don't match up going all the way around. Thank you so much for stopping by and leaving a comment. Beverly
LikeLike
What a great tutorial, I just tried it with the Martha Stewart Cherish punch and it gives a lovely scallop shape to the circle. Thankyou so much for sharing Tx
LikeLike
Fluffy, It is so great to hear that you tried it and liked the results! Thank you for telling me. Isn't it great when we can use our tools for 'bonus' type stuff? Thanks again for stopping by and leaving me a comment, I appreciate it! Beverly
LikeLike
Thank you so very much!!!! I love your description and your beautiful result. You have a fabulousvoice and way of describing what you are doing. I hope you can help me with another challenge. I have the Martha Stewart Doily Lace edge puncher and I love it. I have been looking ALL OVER for the matching corner punch with no success. Can you suggest where I might find it? My next call is to Martha Stewart's company to see if they can help me. Again, thank you for your great tutorial. I will definitely be following you! Mary
LikeLike
Mary, Thank you very much for your very kind compliments. I think you are on the right track by wanting to contact the manufacturer for the corner punch. They retire them after awhile, but maybe they still have some in stock. EK Success is the company the produces and markets Martha Stewart's punches. Here is their website: http://www.eksuccessbrands.com/. Best of luck to you in your quest for the punch! I hope you find it because they are so much fun to use. Beverly
LikeLike
Thanks so much for your tutorial, I have now made myself a promise to try something new at least every second day!! I tried this technique with a 5″ circle and M.S punches – Monarch Butterfly, Gothic Arches, Lattice(I think that's the name) Daisy and Loops all turned out pretty good, just a little tweak on the 5″ for the butterfly will make it perfect. I will try the the Holly Leaf next – that would be lovely for Xmas cards. Thanks again for sharing your techniques with us. Regards Kris
LikeLike
Kris,Those sound beautiful! I would love to see them! Thank you for letting me know that you have done this technique. I am so glad it worked well for you. 🙂 Beverly
LikeLike
Wonderful tutorial. I'll have to try this. Thanks so much for sharing!
LikeLike
pretty darn cool. I am going to try this!
LikeLike
From where can I get these punches…?
LikeLike
Thank you for visiting! I hope you have been able to try this.
LikeLike
Great! I am so glad you stopped by my blog. If you get a chance, I'd love to see pictures of what you create.
LikeLike
Hi! I purchased most of the punches at Joann's or Michael's. Many of them were purchased with a coupon to help make my collection a bit more affordable. 🙂
LikeLike
I see that I am a few years behind in finding this very, very cool idea you have shown here on your blog! Found you on Pinterest and glad I did…I will definitely be trying this out! Thanks for the great tutorial!Charlotte from AZ
LikeLike
(I followed a Pinterest link to your blog.) This is a really great idea! I've been looking for more ways to use the punches that I have.Do you have any ideas for regular circle punches (not the MS kind) or the envelope punch board. I've been searching but not finding much.Thanks for the tips!
LikeLike
Have these punches in a drawer,not much use until i saw this, cannot wait to get started
LikeLike