Sometimes I want to put more photos on a layout than what will easily and aesthetically fit. When that happens, I usually try to hide some of them behind other pictures. In this video, I show the planning and execution of a 2-page layout that uses 17 photographs and some hidden journaling.
The still photos of the layout have terrible glares/blurriness because of the page protectors. However, I wanted to share them to show the little booklets that I made by just folding a piece of patterned paper into thirds. These booklets are the bases for most of the photos and also provide a fun interactive element to the layout.
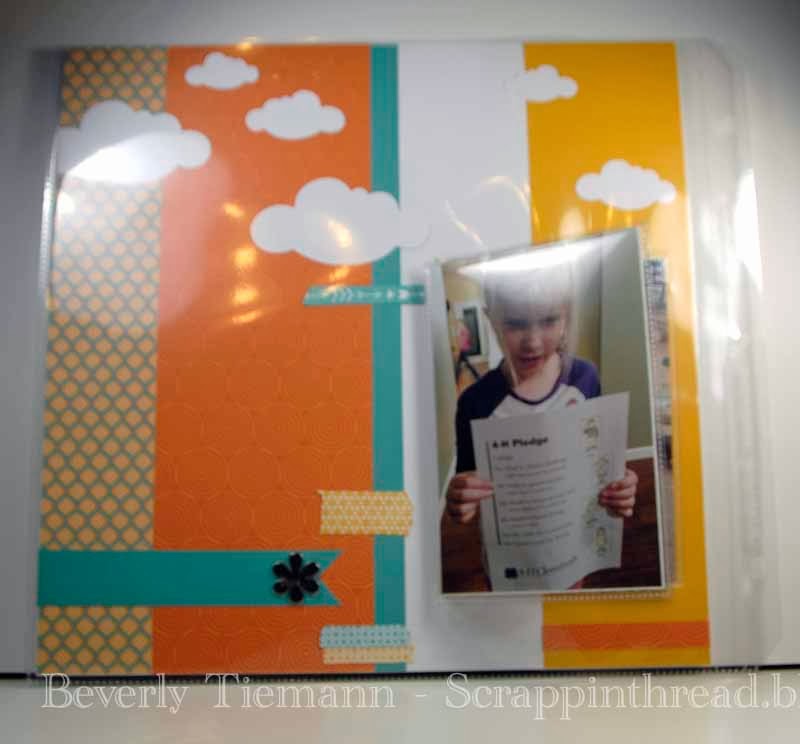 |
| CTMH Cloud Nine Papers |
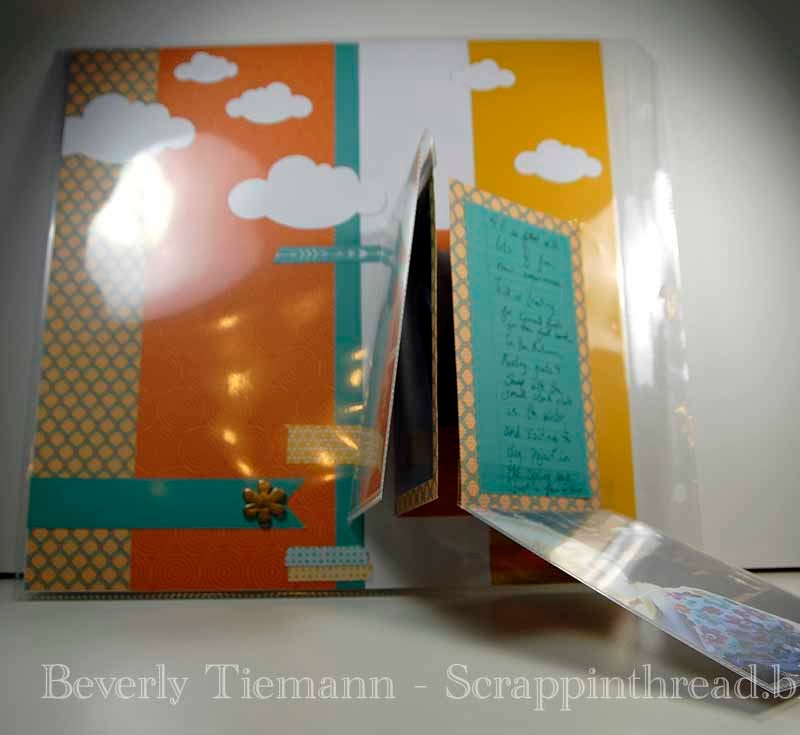 |
| CTMH Memory Protectors – 4 x 6 Flip Flaps- Flipped Open |
 |
| Hidden Photos and Journaling Behind Flip Flap |
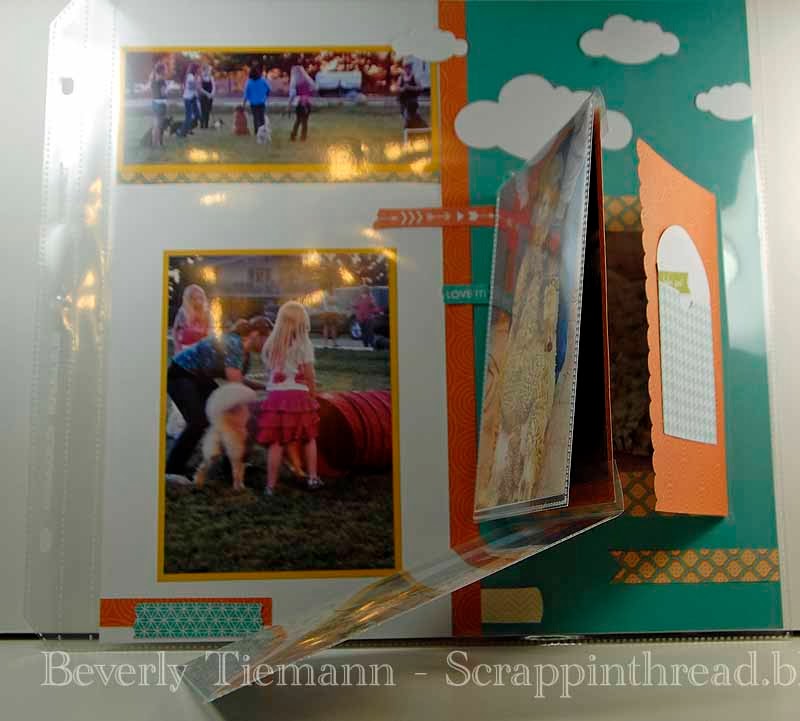 |
||
| Slits cut in 12 x 12 page protector for flaps of booklet to open |
4″ x 6″ Memory Protectors can be found here.
A variety of sizes of Memory Protectors are here.
If you have any questions, please leave me a comment or email me at StampinBev@msn.com.
Thank you for visiting!
Beverly


3 responses to “How to Assemble a Scrapbook Layout with Hidden Photos and Journaling”
LOVE this, Bev!!! A friend showed me Flip Flaps last fall, and I've been drooling over them ever since!!!! Thanks for showing a layout using them!
LikeLike
Thank you, Jackie. I appreciate you leaving me a comment that you saw this post. I apologize for taking so long to respond, but I just found your comment today.
LikeLike
Nice sharee
LikeLike